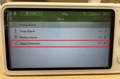
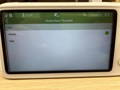
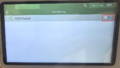
Enable: Select "VOX Function" in "Screen" settings. The navigation bar will show the function is active when enabled.

Sensitivity: Adjust the sensitivity level in "VOX Setting."
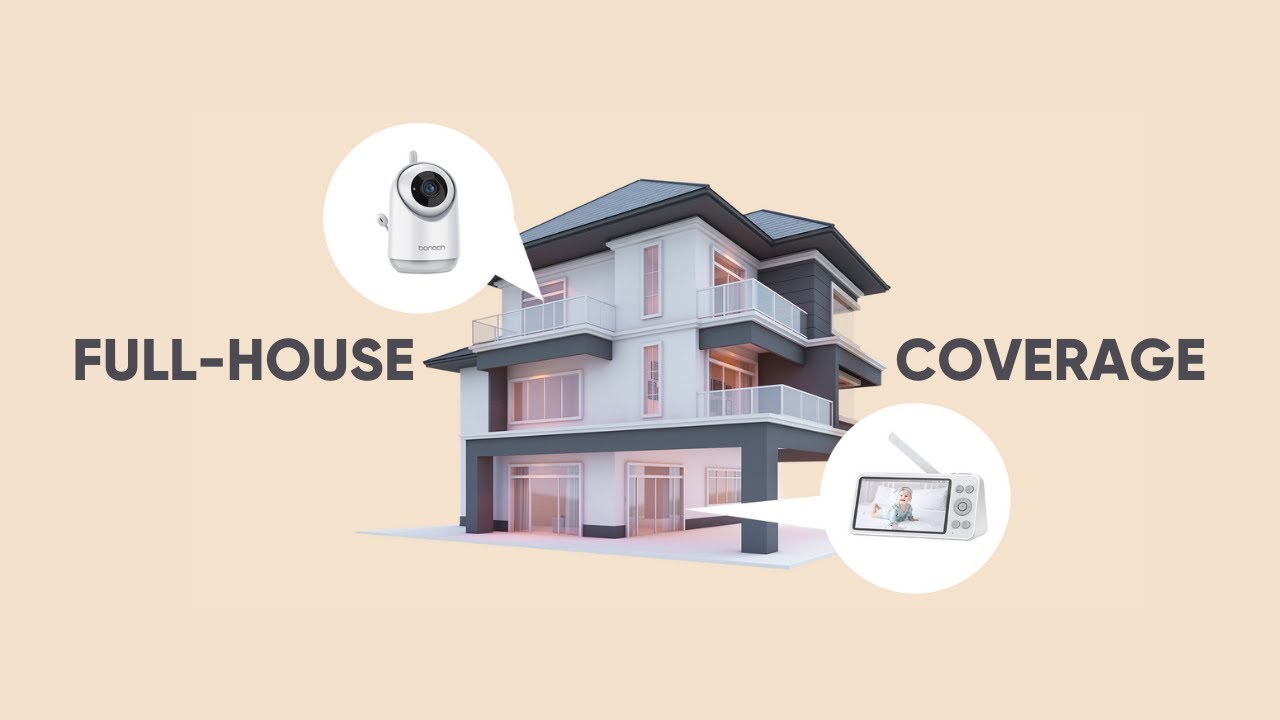
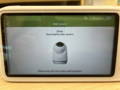
Download and view the product manual for detailed instructions on setting up your bonoch Baby Monitor Pro.
How to set up the VOX Mode?
Sensitivity: Adjust the sensitivity level in "VOX Setting."
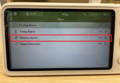
What is Sleep Mode?
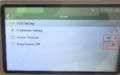
How to set up the Crying Alarm?
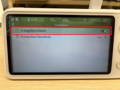
How to set up the Motion Alarm?
Are there any privacy concerns?
What is the max connection distance?
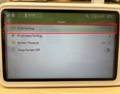
Connection Issues
1.1 Unable to Connect
1. Power Check
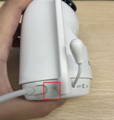
Step 1: Make sure the power adapter and cable are properly connected.
Step 2: Plug in the camera. You should hear a soft click when the connection is secure.
Step 3: Switch the power to ON. The indicator light should turn green, which means the camera is powered correctly.
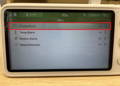
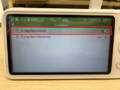
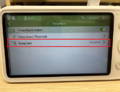
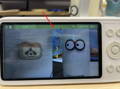
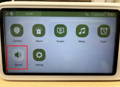
Step 4: On the monitor, go to: Menu > Camera Settings > Add Camera.
Step 5: On the camera, press and hold the Pair button.
2. Reset the Device
Method 1:
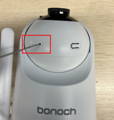
Step 1: Use the reset pin to press the Reset button on the camera (see location below).
Step 2: Use the reset pin to press the Reset button on the monitor (see location below).
Method 2:
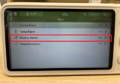
On the monitor, go to Menu > System Setting > Reset to restore the device.
Method 3:
Delete the device and re-add:
Step 1: In the camera settings, delete the connected device.
Step 2: Press and hold the camera Reset button until you hear the voice prompt, then release.
Step 3: Camera Settings > Add Camera > Wait a few seconds for the device to reconnect automatically.
1.2 Unstable Connection Between Monitor and Camera
Step 1: Place the monitor and camera as close as possible and minimize obstacles. Signal can penetrate:
-Up to 3 walls horizontally (each ~15–20 cm concrete)
-About 2 floors vertically
-Open area: ~250–300 m
-Beyond these ranges, signal may weaken, causing laggy video, delayed audio, slow response, or even disconnection.
Step 2: Check for potential sources of interference nearby, such as Wi-Fi devices, microwaves, or other high-power electronics.
Step 3: Delete the camera pairing record, reset the camera, and re-pair it with the monitor.
Step 4: Make sure the antenna is fully upright.
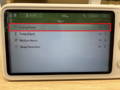
Alarm Functions
2.1 Alarm Function Setup and Performance Issues
1. VOX Mode
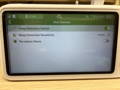
Step 1: Go to Screen Settings > VOX Setting, then turn on the VOX Switch to enable the VOX function. Once enabled, the VOX icon will appear on the navigation bar.
Step 2: Go to VOX Setting to adjust the sensitivity level.
*If the VOX mode does not wake up frequently or fails to respond, increase the sensitivity level.

2. Crying Alarm
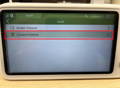
Step 1: Go to Alarm Settings, then turn on the Crying Alarm Switch to enable the Crying Alarm function. Once enabled, the Crying Alarm icon will appear on the navigation bar.
Step 2: Go to Crying Alarm Sensitivity to adjust the sensitivity level as needed.

* Performance Issues
When the function is not working properly:
1. Make sure the feature is turned on. When enabled, the corresponding icon will appear on the navigation bar.
2. Increase the sensitivity level if the function is not being triggered easily. A low sensitivity setting may prevent it from activating.
When false or frequent alarms occur:
1. Check for noise sources around the camera. Loud background sounds can interfere with the detection.
2. Lower the sensitivity level appropriately and ensure the camera is placed within 2 meters of the baby.
3. Temperature Alarm
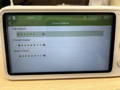
Step 1: Go to Alarm Settings and turn on the Temp Alarm function.

Step 2: In Temp Alarm, go to Temperature Setting to set your preferred temperature range.

Step 3: In Temp Alarm, go to Temperature Unit Setting to choose the temperature unit. The default unit is °F (Fahrenheit).
* Performance Issues
If the temperature reading is inaccurate:
1. Make sure the surrounding temperature is within the device’s normal operating range.
2. Avoid placing the camera near heat or cold sources such as ovens, refrigerators, or air conditioners, as these may affect the sensor’s accuracy.
4. Motion Alarm
Step 1: Go to Alarm Settings and turn on the Motion Alarm function.
Step 2: Go to Motion Alarm Threshold to adjust the sensitivity level as needed.

* Performance Issues
When the alarm does not trigger or is not working properly:
1. Make sure the feature is turned on and the baby is positioned in the center of the camera view.
2. If the alarm triggers infrequently, increase the sensitivity level.
When the alarm triggers unexpectedly or too frequently:
1. Check for moving objects around the camera that may cause interference.
2. If the alarm triggers often while the baby is safe, lower the sensitivity level as needed.
5. Sleep Detection
Step 1: Go to Alarm Settings and turn on the Sleep Detection function.
Step 2: Go to Sleep Detection Sensitivity to adjust the sensitivity level as needed.
* Performance Issues
When the alarm does not trigger or is not working properly:
1. Make sure the feature is turned on and the baby is positioned in the center of the camera view with no obstacles nearby.
2. If the alarm triggers infrequently, increase the sensitivity level.
3. When the baby is covered with a blanket, set the sensitivity to a higher level to improve detection accuracy.
When the alarm triggers unexpectedly or too frequently:
1. Check for moving objects around the camera that may cause interference.
2. If the alarm triggers often while the baby is safe, lower the sensitivity level as needed.
3. Only enable this feature when you need to monitor the baby’s sleep movements.
Signal Transmission Issues
3.1 Monitor Video Blurry or Delayed
If the monitor video appears blurry or delayed, try the following:
1. Keep the monitor close to the transmitter to minimize delay and ensure it is within the effective transmission range.
2. Delays may occur while moving the device. For best performance, use it when stationary.
3. Remove any obstacles around the device, such as metal baby gates or other barriers that may block the signal.
3.2 Device Signal Interrupted
If the signal between the monitor and camera is interrupted:
1. Restart the monitor and check that both the camera and monitor are properly powered.
2. Make sure the monitor’s antenna is fully extended to maintain a stable connection.
Sound Issues
4.1 High-Pitched Noise
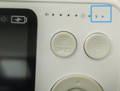
If you hear a high-pitched noise, the monitor and camera may be placed too close to each other. Move them farther apart, or lower the volume to level 2 or below (out of 8 levels).
4.2 Docking Function Delay
When using the talk (intercom) function, press and hold the Talk button, then wait about 1 second before speaking for the connection to establish.
4.3 Intermittent Audio
1. If the sound cuts in and out, make sure the camera’s microphone is not blocked.
2. Keep the microphone facing the baby or adult and within a reasonable distance for clear sound transmission.
4.3 Intermittent Audio
1. In split-screen mode, the monitor only plays audio from the camera highlighted with a green frame.
2. Ensure the volume for the corresponding camera is turned up.
Display Issues
5.1 Intermittent Black Screen
*In VOX mode, the monitor screen may turn off automatically when the camera detects no sound for a while. This is a normal power-saving behavior. The screen will turn on again once sound is detected.
*If the screen doesn’t wake up easily, try increasing the VOX sensitivity level.
5.2 Distorted, Flickering, Black, or Frozen Screen
*Restart both the monitor and the camera.
*Make sure the camera’s night vision mode is set to Auto.
5.3 Screen Turns Off Automatically
1. Turn off the VOX function.
2. Turn off the Screen Off Timer function.
3. Turn off the Deep Sleep function.
Operation Issues
6.1 Unable to Move the Camera
1. Make sure the camera is powered on and try restarting it.
2. Ensure there are no interference sources nearby, such as metal baby fences.
3. Check if any objects are blocking the camera’s rotation path.
6.2 Unable to Close Alarm Pop-up
1. Press OK to clear the alarm pop-up. If multiple alerts appear, they need to be cleared one by one.
2. In split-screen mode, move the green frame to the corresponding camera view, then press OK to dismiss the pop-up.
Charging Issues
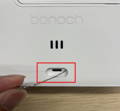
Monitor Not Charging
If the monitor is not charging:
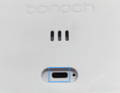
1. Check for any debris inside the charging port.
2. Verify that the charging indicator light is on (the LED should glow blue while charging).
3. Confirm the power outlet is working by testing it with another device.
4. Try using the camera’s power adapter and USB-C cable, or test with another known-good USB-C cable.